Nexus 7 (2013) tips and tricks
 tips and tricks")

The . At the core of it all, it is basically a larger versions of Google’s Nexus smartphones but at the same time fundamentally different. As such, I've compiled a list of some neat features and tips that you might find handy for the Nexus 7.
Read our Nexus 7 (2013) review to find out all you need to know about the Google device.
Avoid Face Unlock
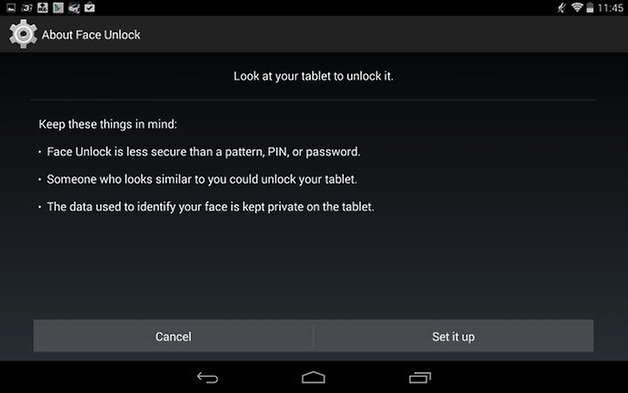
The Nexus 7 2013 offers a bunch of screen unlocking methods to secure the data that it keeps aboard, from PIN, to a pattern, password, and lastly, and most interestingly, Face Unlock. Though this one may seem the most exciting, I would stay away from it. Why? Because, it doesn’t present the highest security level of all the methods, and after reading through various forums, could easily be hacked.
The concept is you hold the device up to face level, and blink, so that the system recognizes that you are a real human and not just a picture. If you are willing to go with the risk on this, you can easily set it up by going into the settings of your device, then Security, and finally Screen lock. There you can choose Face Unlock. Right away, it will tell you that this method is the less secure than a pattern, PIN or password and that someone who looks the same could unlock your tablet - the technology just isn’t advanced enough. Many tech sites might tell you to use this, be say don't!
Encrypt your data
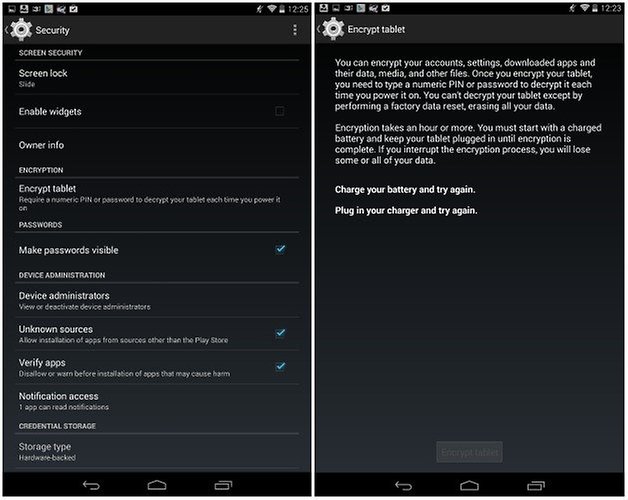
Sometimes it isn’t just enough to set up an unlocking method on your lock screen. Though many thieves are likely just to want to make a buck by selling your device, if they ever got their hands on it, there may just be a conniving thug out there who is wanting to commit identity theft. It is because of this that users should go a step further and encrypt the data on their device, which is then only accessible with a PIN. Go to the settings of your Nexus 7, then tap on Security followed by Encrypt tablet. Please be aware that encrypting your device will take over an hour, so it’s best to have a fully charged battery as well as keep it plugged in, because if the encryption is interrupted, this could result in a loss of data.
Enable auto rotation of the display
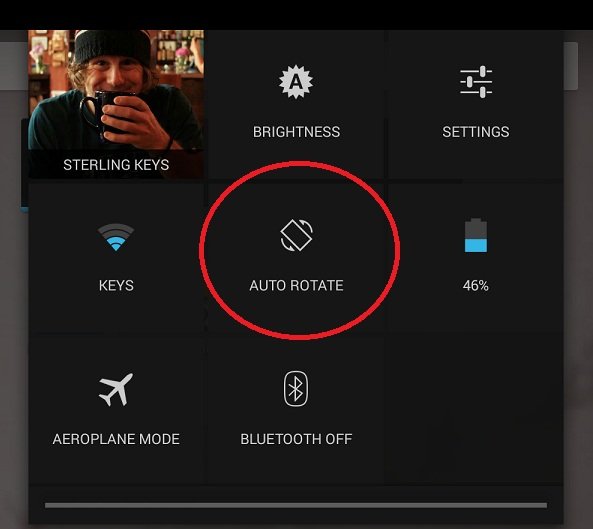
It may seem a bit counter intuitive, but the rotation of the display is not enabled by default on the Nexus 7. As such, you’re stuck with a fixed display when you get the device and it may seem cumbersome for a device with a much larger screen than just your standard smartphone.
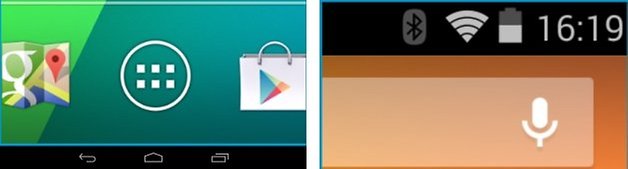
There is a very quick way to be able to fix this and be able to freely have your screen adjust to whatever orientation you want to hold your phone, landscape or portrait. Simply swipe down from the top right hand of the screen to bring up your Quick Settings (this might be a tip in itself as many users aren’t even aware of how to get to Quick Settings!) and just tap on the Auto Rotate square to enable or disable this feature. Voila!
Enable screen zoom
There are situations where when you`re looking to pick up a particular piece of content from a website, such as viewing a photo, and you want to be able to pick out more detail or get a zoomed in look. Well, with the screen zoom feature you can have an “imaginary magnifying glass” that hovers around your screen.
This can be enabled by heading to Universal Access in your settings and choosing the Magnification Gestures option. When turned on, every time you do a triple tap on the screen, you can enlarge it and then use a pinch-to-zoom gesture to enlarge the screen even further. To get back to a normal screen, just triple tap the screen again to return to normal.
Need more tips? Find out how to make your Nexus 7 awesome again.
Larger Text
It is not really intuitive to hold your tablet extremely close to your face, such as is the case with most smartphones. Since it makes more sense to hold this larger device further away from you for reading purposes, it is also common to find situations where the text size displayed is often too small to be read at a comfortable distance. You can increase the default text size through your settings to combat this annoyance and make it so default text, such as display by a web browser, is automatically enlarged.
To do so, head to your settings and go to Display and Font Size, where you can choose from four sizes for your default font. Similarly, you can get the same results by going to Accessibility in your settings and and choosing the Large Text option.

Copy and Paste
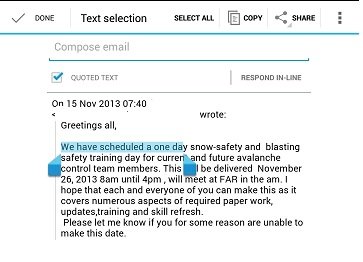
This may seem extremely trivial, but this is a very important feature when it comes to using tablets that can easily be overlooked just due to not knowing exactly how to do it. To select a portion of text that you want to use, just hold your finger over it for about two seconds. This will then highlight the text and a bunch of options will pop up at the top of your screen, such as copy, paste, cut, and more.
If you want to expand or constrict your highlighted portion of text, just use the two marking edges and drag them to the desired length that you want. It is hard to believe that there was a time on smartphones and tablets that this wasn’t even a standard feature.
- Do you feel your Google tablet is getting slow? Here are ways to speed up your Nexus 7.
Disable WiFi during sleep mode
WiFi is a power hungry beast when it is being used, but did you know that by default that WiFi is still active, even when you’re not using your device or it is the middle of the night? Thankfully, your Nexus 7 has the option to disable using WiFi during these times that you can control.
If you head to your WLAN settings and then tap in the top right corner and choose Advanced, you’ll see a slew of options to choose from. By clicking on Keep WiFi on during sleep, you can choose from either having it on all the time, only when the device is plugged in, or never.
Keep in mind, this will limit the connectivity of the device so if you rely on WiFi to get messages or push notifications, you won’t receive them again until you physically wake the device up.

Disable auto sync on your accounts
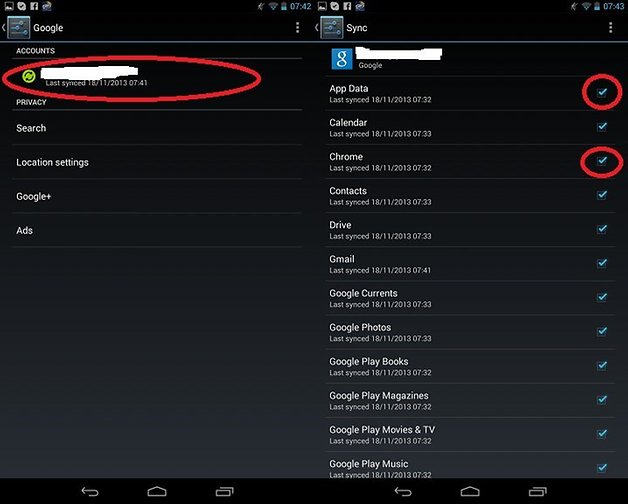
Google automatically syncs all your Google accounts to your Nexus device, such as Google+, Gmail, and app data. This can be a bit cumbersome if you don’t necessarily want or need all that stuff on your device or just want to keep it separate, due to multiple accounts or whatnot.
In your settings, you can head down to the Accounts area and click on whichever one you want to modify. In this case, we chose Google. From there, you can then unclick all the data that you don’t want synced on this device automatically, whether it be Google Calendar items or even Google Photos.
Disable app notifications
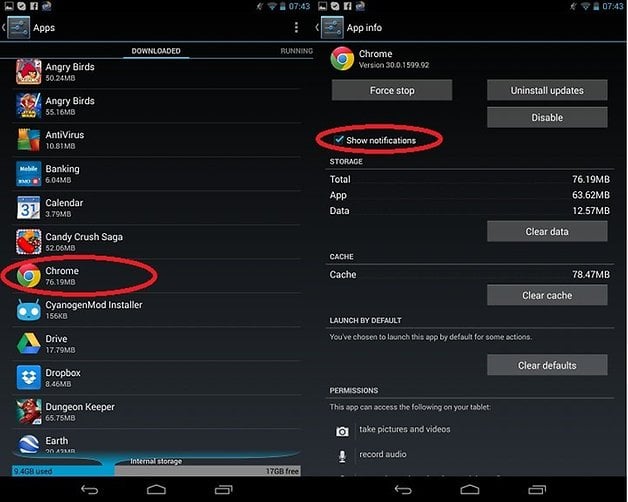
Do you have apps in which you constantly receive notifications from, but you really don’t want to see them anymore? If you head to the Apps portion of settings, you can select the offending app from the list of installed apps and then just uncheck the Show Notifications option just at the top of the opened page. That’s all it takes to remove the ability for that app to continue sending you notifications.
So, those are some of our favorite little tid-bits for the Nexus 7. What are some of yours? Feel free to share them below in the comment section!


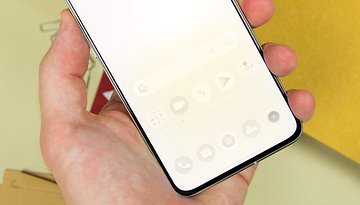

I like the release version of BAM; the RECENT APP page has clock, calc, camera, map and music ICONs.